Your Guide to Custom Computers

PC Parts Layout

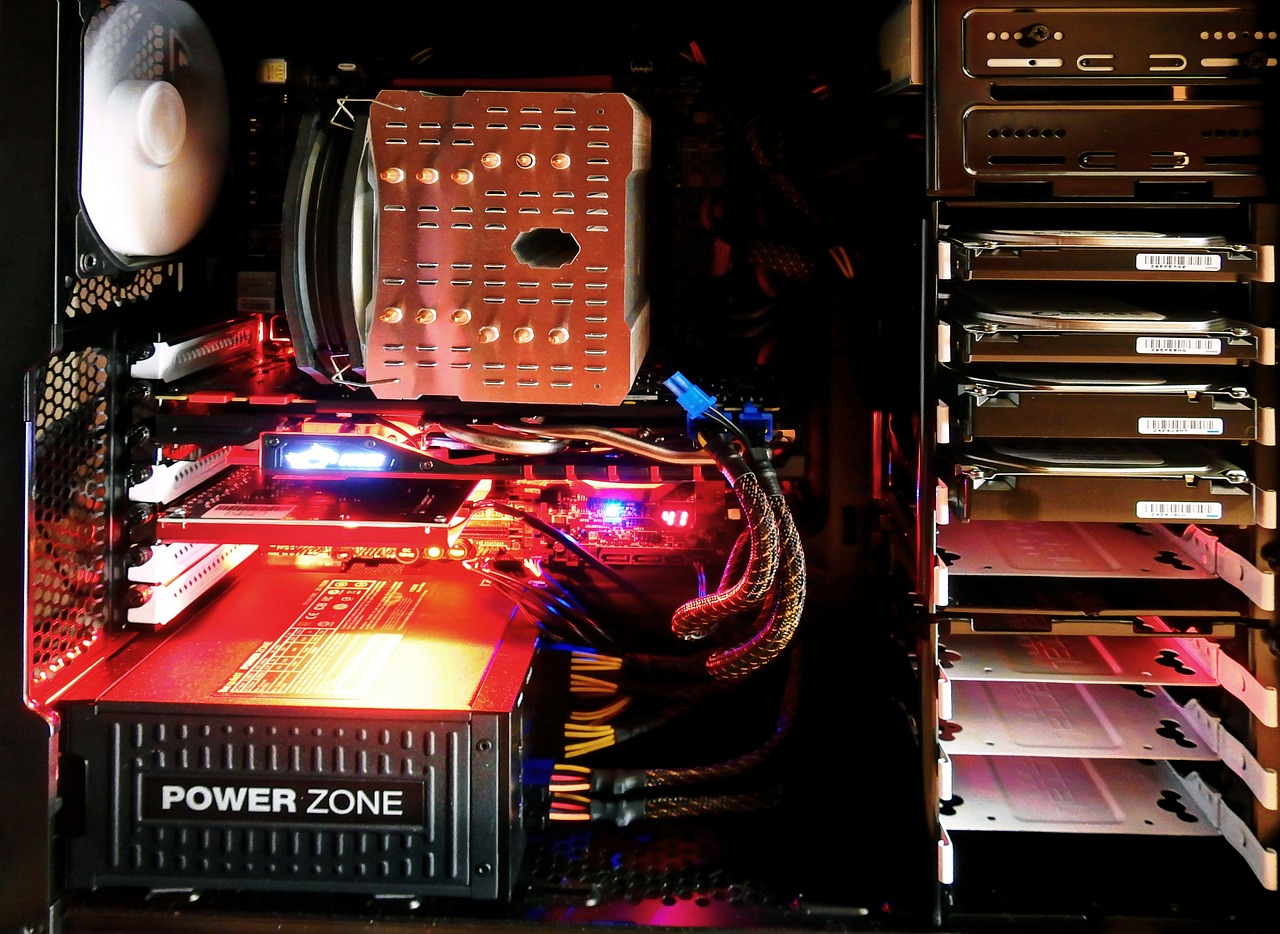
The idea of building your own computer can seem intimidating at first, but it's easier and more rewarding than most people expect. This website will walk you through the basics of assembling your own PC — from selecting parts, to putting it all together, to getting everything running smoothly. Whether you're building for gaming, productivity, or general use, this guide will help make your first build a success.

Inside, you'll learn about the different components that make up a PC, how to select compatible hardware, and the exact steps needed to assemble your machine. We'll also give you tips, common mistakes to avoid, and even videos to support your learning. If you're ready to take control of your computer experience and save money doing it, you're in the right place!

Parts

PC Components

Every PC is made up of key parts that work together. The CPU (Central Processing Unit) is the brain of the computer. RAM (Random Access Memory) temporarily stores data to speed up programs.The GPU (Graphics Card) handles all graphics and video rendering, which is especially important for gaming or design. Storage drives (like SSDs and HDDs) keep your files, games, and programs safe.

The motherboard connects all parts and lets them communicate. The power supply unit (PSU) provides electricity to everything inside your computer. A computer case holds it all together, and good airflow and cooling fans keep your machine from overheating. Each part is important, and understanding them will help you build a system that fits your needs.

PC Parts List

Part Quantity
Motherboard 1
CPU (Processor) 1
RAM (Memory) 2
GPU (Graphics Card) 1
Storage (SSD/HDD) 1–2
Power Supply (PSU) 1
PC Case 1
Cooling Fans 2–5

From Parts to Power-On

Installing PC parts

Start by preparing a clean, static-free workspace. Install the CPU onto the motherboard carefully, then attach the CPU cooler and insert your RAM sticks. If you're using an M.2 SSD, install it now too. Then mount the motherboard into your case, making sure it lines up with the standoffs and the I/O shield.

Next, add your GPU and plug in your power supply cables. Make sure all your connections are firm. Add any case fans, and tidy up your cables for better airflow. Finally, connect a monitor and keyboard, power it on, and check your BIOS to make sure everything is detected. If so, congrats — you’ve just built a working PC!

PC Building Tips

Building Tips

Here are some tips to make your PC build smoother: Always check compatibility between your parts using a tool like PCPartPicker. Don’t forget to install standoffs before mounting your motherboard. Use zip ties or Velcro straps to manage your cables — it improves airflow and looks cleaner.

Don’t overtighten screws — just firm is enough. Make sure your CPU and RAM are fully clicked in. Check all your power cables are secure before turning it on. If the PC doesn’t power up, stay calm and double-check connections. Take your time — patience is key!

Contact

If you have any further question or you need help with the steps , please fill in the information below and leave me a message. Ill get back to you as soon as i can. Thank you!